VPS Migration to BinaryLane
Many moons ago I set up a NixOS based VPS through DigitalOcean.
It was a triumph, as it involved bootstrapping NixOS via a
Ubuntu install using a little tool called nixos-anywhere.
That VPS has served me very well over the years, but the costs are becoming prohibitive; $20 AUD per month for a VPS that reverse-proxies traffic to my home server via WireGuard is excessive.
And so, I decided to finally migrate to a cheaper service.
Finding a Provider
Say what you will about AI and LLMs, but they are absolutely incredible tools for doing market research (assuming the information is publicly available).
I had a little discussion with my friend ChadGPT where I outlined
my current setup and requirements:
I have a vm on digital ocea. It is i think 2-4gb ram (whatever nixos min is??
2gb?) and its a basic droplet. It is essentialy just a vps.

cost is like 20aud p/m. thats too high now. its just a reverse
proxy/bastion really. i don't host anything significant there. looking
for a cheaper solution.
My offhand, lazy message generated the following:
...
The standout I found is actually Australian:
- BinaryLane — A$4.90/month: 1 vCPU, 1 GB RAM, 20 GB NVMe, 1 TB transfer,
  IPv4 included. They have Brisbane, Sydney, Melbourne, Perth and Adelaide
  regions. BinaryLane
- Same provider at A$9.80/month gets you 2 GB / 40 GB, if you want more
  breathing room. BinaryLane

- OVHcloud Australia is another interesting option: currently advertising
  A$6.29 ex-GST/month for 2 vCPU / 4 GB / 40 GB, Australian region, although
  their page currently labels that pricing “2027,” so I'd verify what checkout
  actually offers before relying on it.
With a few keypresses, I had found two solutions. I looked into BinaryLane briefly and found it supported my needs very well, offering low-cost solutions AND a BYO image solution.
I routed some very basic due diligence through ChadGPT:
does reddit say much about binary lane?He found some threads and summarised them:
The most relevant thread for your exact use case is from r/selfhosted in 2024.
Someone wanted a cheap Australian VPS, and BinaryLane got several
recommendations. One commenter explicitly described it as suitable for a
“super low cost proxy like you're describing”; others praised the local
hosting, UI, performance, and ability to download snapshots
...
Given that the discourse online was mostly positive, and the financial risk was a $5, I decided to give it a go.
Provisioning
The first step, after purchasing the VPS, was uploading a NixOS 26.05 ISO as a “backup”. This process was seamless and well-documented by the web interface. In fact, I found the web interface quite nice; sleek, minimal, and focused on doing its job.
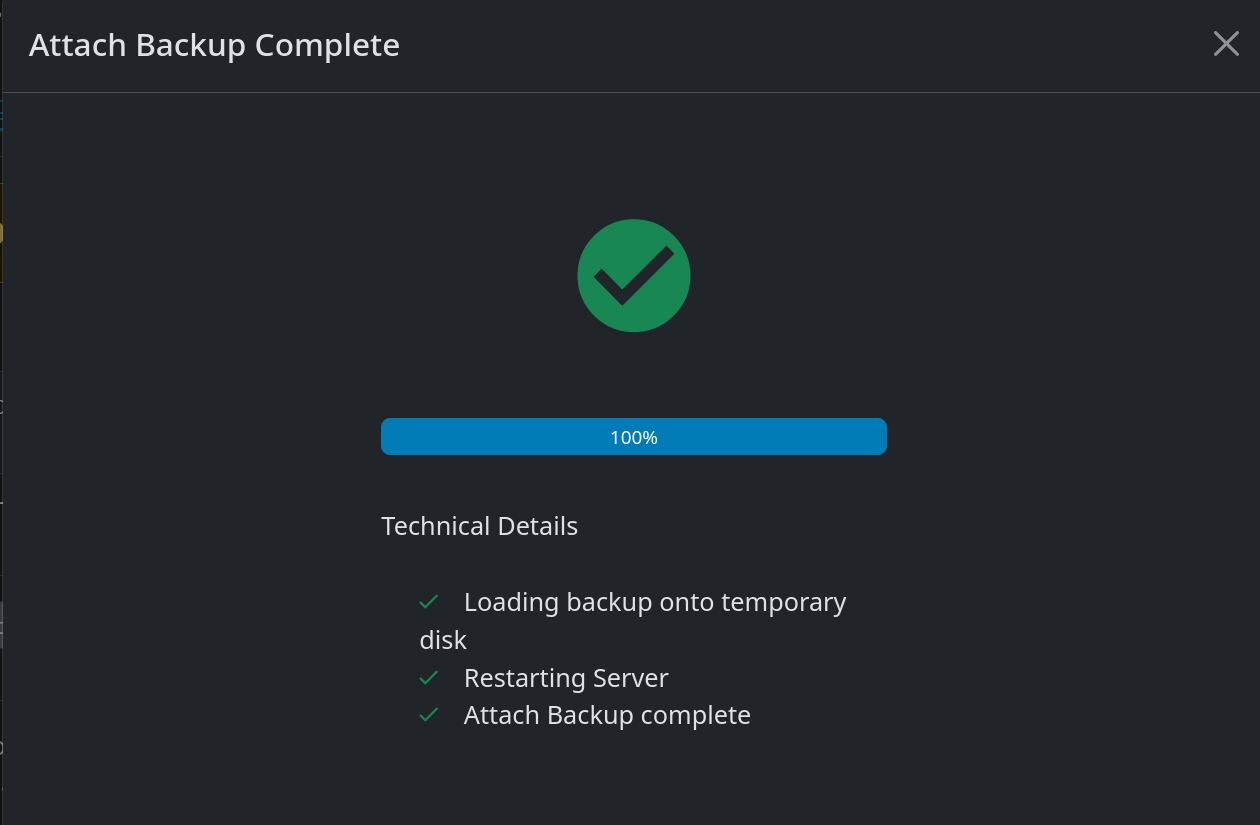
They even showed me this little pop-up once the upload was complete.

Another great feature was that the upload could be done by providing a URL; this meant I could just upload directly via the NixOS source.
I clicked the big green button and waited for the ISO to be attached
Unfortunately, loading the VPS did not work:
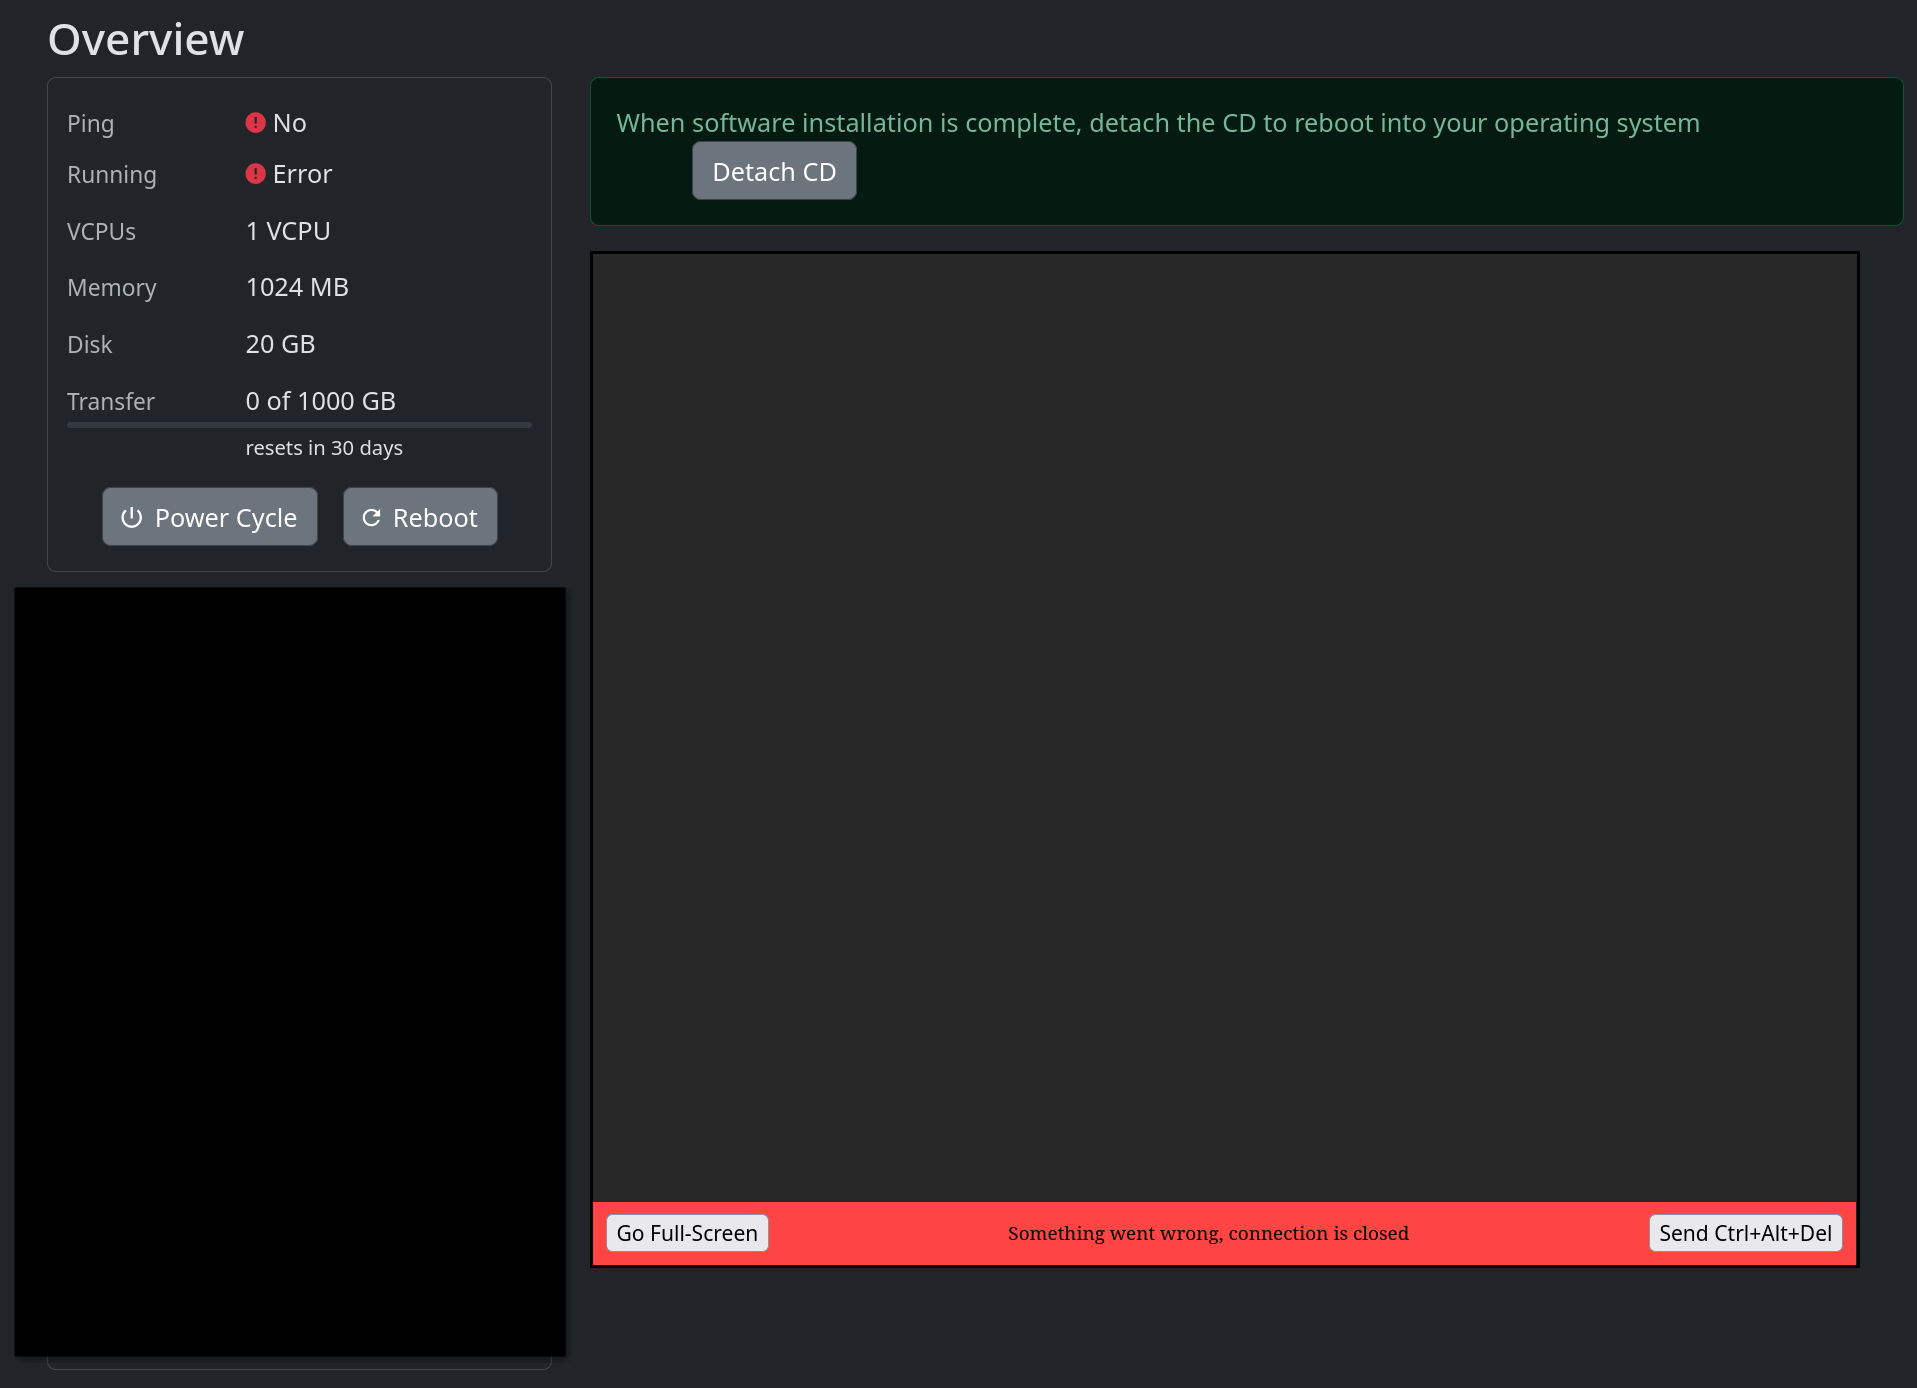
It just got stuck in a boot loop. I detached the ISO, power-cycled the machine, then reattached the ISO, and power-cycled again.
This time it worked!
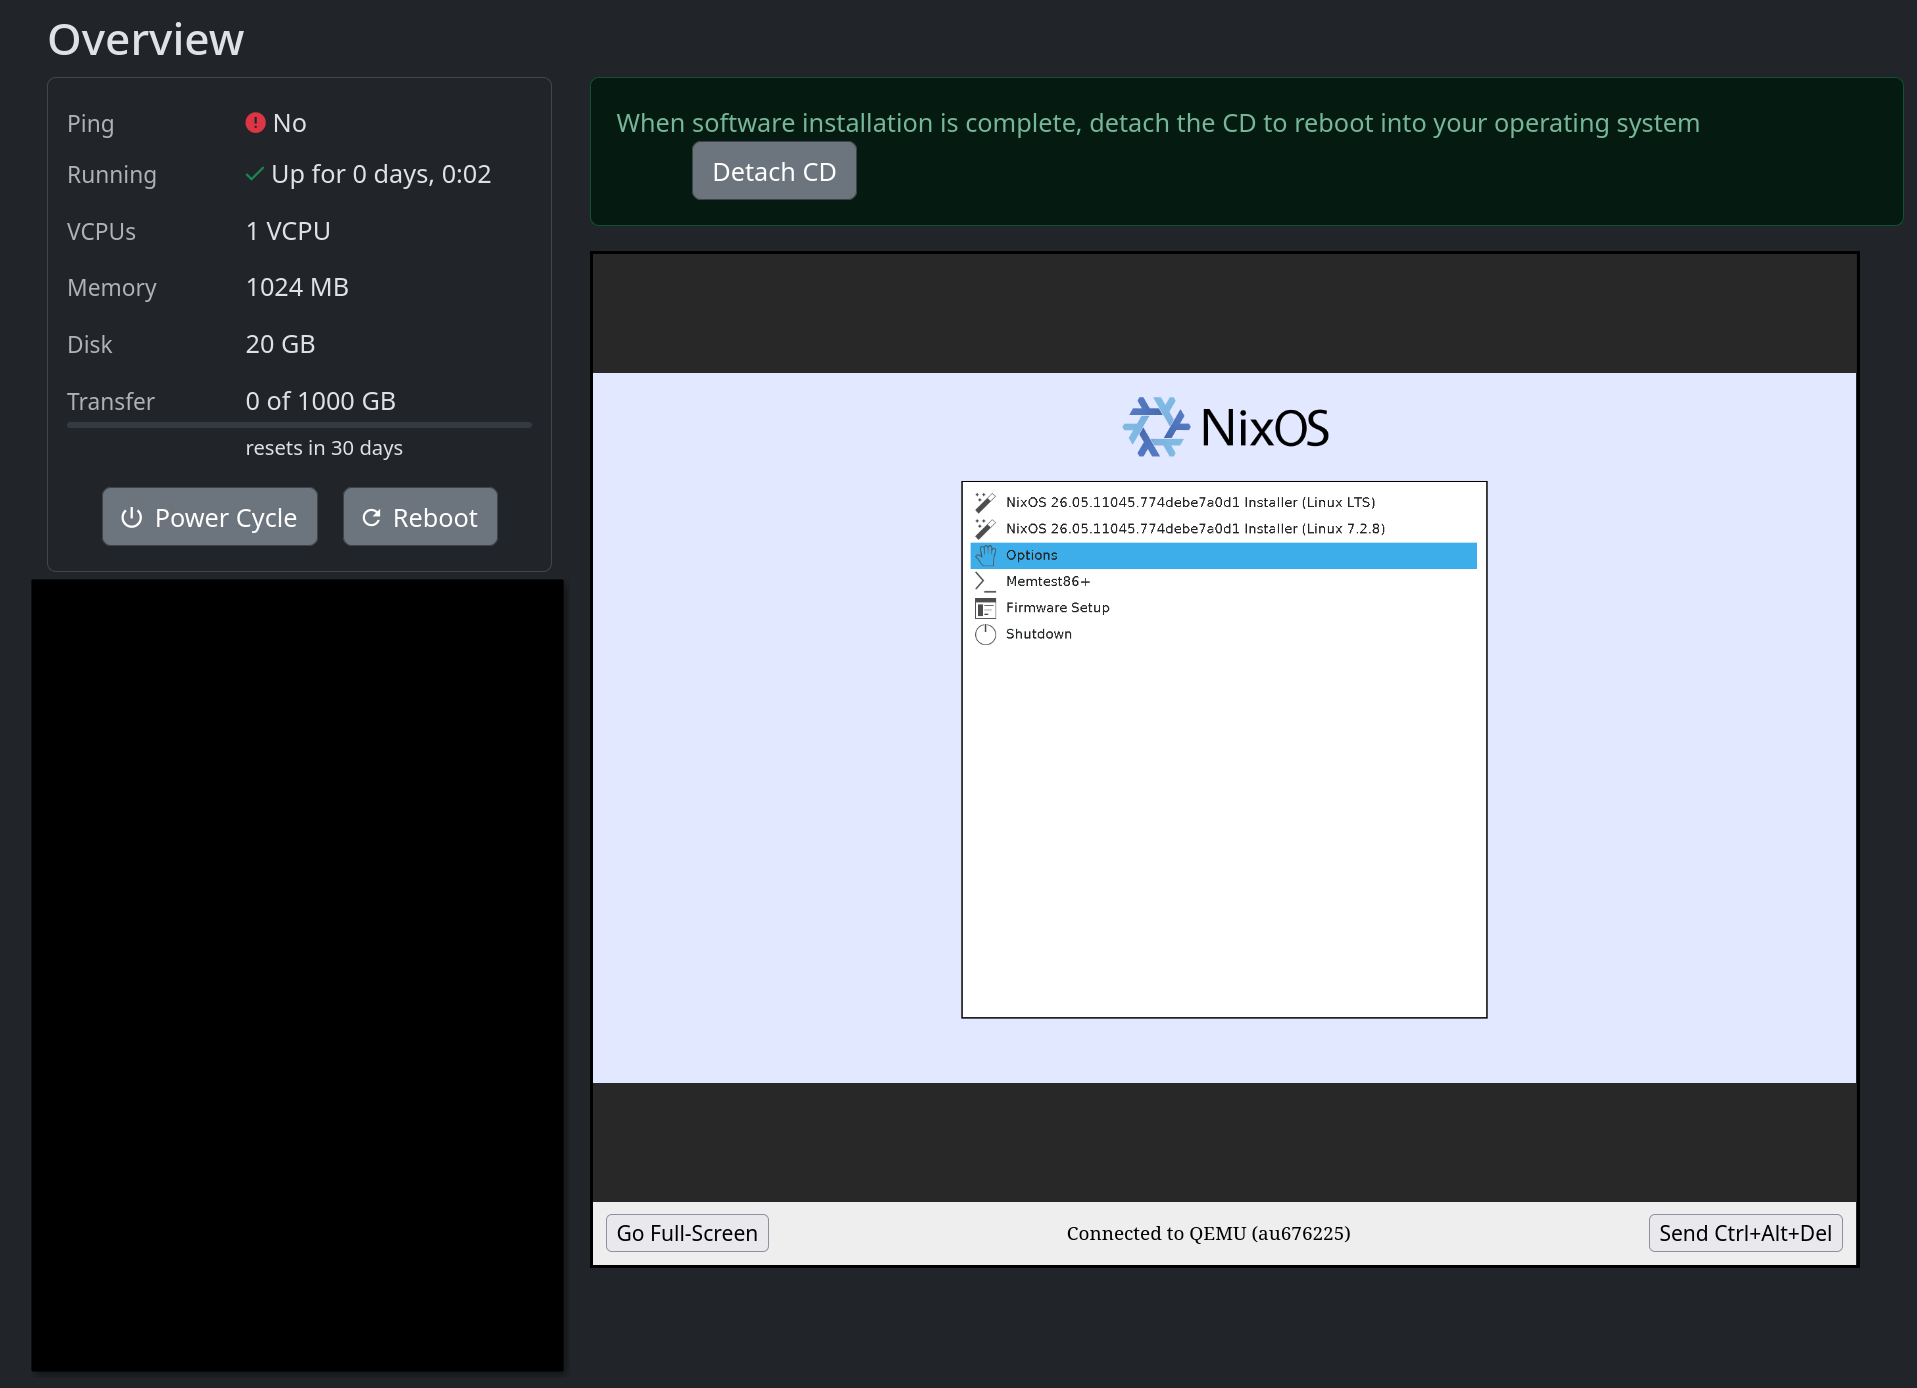
I proceeded with the standard NixOS minimal install steps documented in the manual, with some small tweaks:
# Interactive root shell
sudo -l

# Listing the block devices
lsblk

# Making the partition table
parted /dev/vda -- mklabel gpt

# Making the root partition
parted /dev/vda -- mkpart root ext4 512MB 100%

# Making the boot partition
parted /dev/vda -- mkpart ESP fat32 1MB 512MB
parted /dev/vda -- set 2 esp on

# Listing the blocks to confirm the partitions were made
lsblk

# Formatting the partitions
mkfs.ext4 -L nixos /dev/vda1
mkfs.fat -F 32 -n boot /dev/vda2
Then, following on with the Installing steps from the manual: mounting filesystems, generating config, and editing config.
Before running nixos-install I additionally disabled DHCP and configured networking manually.
networking = {
  # BinaryLane:
  # Public IP: ...
  # Gateway:   ...
  # LAN IP:    ...

  useDHCP = false;

  interfaces.ens3.ipv4.addresses = [{
    address = ...
    prefixLength = 24;
  }];

  defaultGateway = {
    address = ...
    interface = "ens3";
  };

  nameservers = [
    ...
    ...
    "8.8.8.8"
  ];
};
I ran nixos-install but ran into an OOM error in nix build. I added a swapfile:
fallocate -l 2G /mnt/swapfile
chmod 600 /mnt/swapfile
mkswap /mnt/swapfile
swapon /mnt/swapfile
And updated my config to include a swap device (so it exists post build):
swapDevices = [{
  device = "/swapfile";
  size = 2048;
}];
Then rebuilt. With the added swap space, the configuration built without issue.
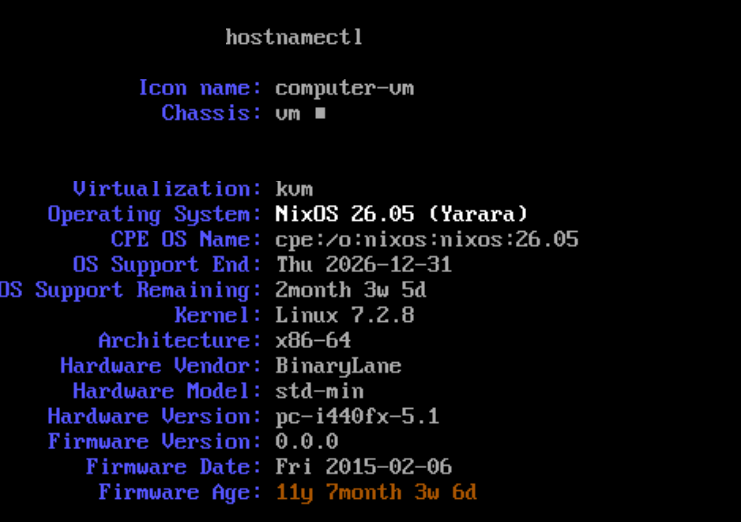
I then set my user password and rebooted after detaching the NixOS ISO.
The install worked successfully. Poor man’s neofetch:
Flake Migration
With the machine up and running, it was time to migrate to the new setup. My old VPS was set up using a Nix system flake. My initial plan was to use my existing flake from my current VPS.
Fortunately, now that the machine was bootstrapped, I could provision everything via my local machine rather than going through the BinaryLane web UI.
When doing migrations like this, it’s important to plan them well. By plan here, I mean list all the existing services, how they are set up, what resources (e.g. static files) they consume, and so on. By doing this due diligence up front, you (mostly) avoid the headache of things breaking post-migration.
For my VPS, the list was very short, and, thanks to NixOS, already reasonably well documented. Looking over my config, there were two key resources that I would need to preserve:
- SOPS age key
- My Nix config specifies secrets via SOPS using
sops-nix; to port everything one-to-one, including my WireGuard and Syncthing setups, I need to make sure I use the right secrets. - These secrets are encrypted using a key stored on my current VPS; this means I need to copy that key across
- My Nix config specifies secrets via SOPS using
- Static assets
- I host a few static sites on my VPS; the resources that these consumed are actually documented in my Caddy config, so it’s just a matter of copying these directories across.
I copied these resources across (painfully), then began the arduous process of reviewing my Nix flake.
A Painful Detour
During the process of this update, I decided to update my home server. I wanted parity across my configs. Unfortunately, I did not have enough free space. So, I needed to improvise and decided try moving the Nix build directory.
Unfortunately, Nix doesn’t make this easy. I had to edit the nix-daemon.service systemd unit:
sudo systemctl edit --runtime nix-daemon.serviceso that the environment specified a new TMPDIR:
[Service]
Environment="TMPDIR=/mnt/nix-build"
Then restart the service. Unfortunately, that failed so I resorted to moving the nix store.
I stopped the Nix services, then moved everything over to my other drive:
sudo systemctl stop nix-daemon.socket nix-daemon.service
sudo rsync -aHAX --numeric-ids /nix/ /data/nix/
Then, I bind-mounted the new dir to the old dir.
sudo mount --bind /data/nix /nixThis places the bind “above” the existing directory so writes to /nix are intercepted and routed to the desired directory, same as bind mounts in Docker.
After doing the bind mount, it’s a good idea to verify:
nix store verify --allI did the build, but because it had been months (?) since I last updated, I needed to rebuild boot instead of the usual rebuild switch.
Rebooting and trying to launch the image actually failed. It was caused by the nix-store being unavailable.
Fortunately, booting into the old system image is very easy with NixOS via the GRUB menu.
After a bit of research, I ended up changing strategies. Rather than bind-mounting, I used this:
fileSystems."/nix" = {
  device = "...";
  fsType = "ext4";
  options = [ "X-mount.subdir=/nix" ];
};
The X-mount.subdir option allows you to mount a subdirectory directly to a target mount point. In my case, I mounted /data/nix to /nix.
This reboot worked! So the update of my home server myshkin was complete. In hindsight, this also resolved the storage limitation I was experiencing.
Back to Business
I went through my Nix config and stripped out all the bits that were used by the old VPS. I then did a local build:
nixos-rebuild build to confirm that the build worked.
Then I tried to rebuild switch the remote:
nixos-rebuild switch --flake .#shatov --target-host moi@moi.ip --elevate=sudo --ask-elevate-passwordThat unfortunately failed. I noodled here, a bit confused. But then found that it was due to a permission error:
nix.settings.trusted-users = [
  "root"
  "sam"
];
Only root had permissions to copy to the Nix store. I was copying to the Nix store as sam. Updating this config authorised sam to copy as well.
Copying the paths took a while, but eventually the rebuild switch went through. I did a rebuild and verified my services were running.
Next, I migrated my other devices. This amounted to updating the WireGuard config to point at my new VPS. I did this and tested by pinging devices on the WireGuard subnet, and checking the output of wg. All worked without issue!
Having repointed that, I then went through and updated all the DNS records for my public sites. I tested each of those, then said goodbye to the droplet.
Fortunately this phase of the migrations was easy; with all the secrets in SOPS, my new VPS was a drop in replacement.
The Future
I’d like to spend a bit more time improving my configs now. Having spent some much-needed time looking through them, I’ve seen a lot of opportunities for improvements around factoring out reusable modules.
Beyond that, I’d like to improve the remote access story. I’ve had my eyes on Authelia for a little while as an auth portal for remote traffic, that would then get reverse proxied to my home machine via Caddy.
And beyond that, I recently developed a tool nx that checks for updates on NixOS. It’s nothing fancy, but maybe if I integrate that with ntfy, I might start maintaining my systems.
All’s well that ends well, I suppose.